If I was going to persist with the masts, I'd better get the shrimp cooker and the exhaust funnel in place. the first thin I needed to do was to create the hardware for it. I found that the craft's wire that I was using is incompatible with the glue that I am using.......adhesion was a problem. so, I have to think up something else.
Eyelets were the way to go........and I drilled the appropriate holes for them. soon I not only had the shrimp cooker in place, but the exhaust funnel was installed as well.


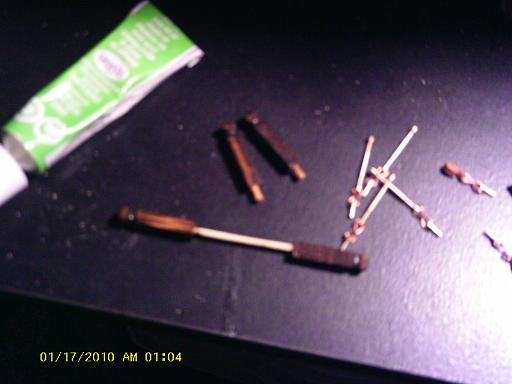
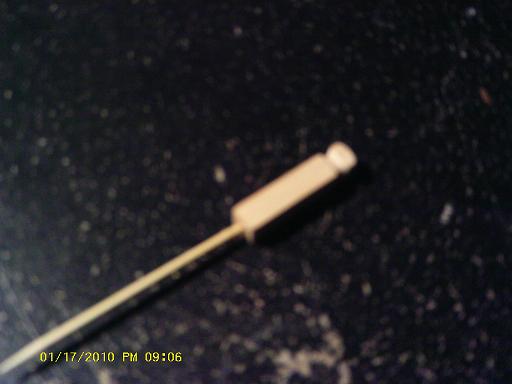
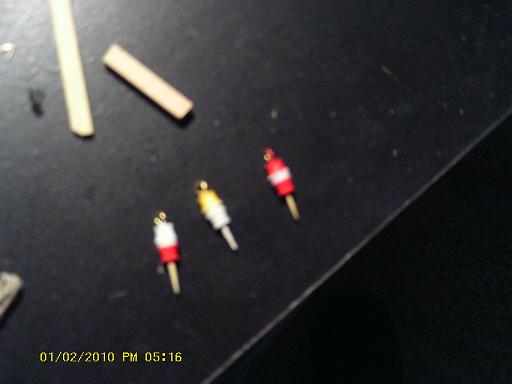
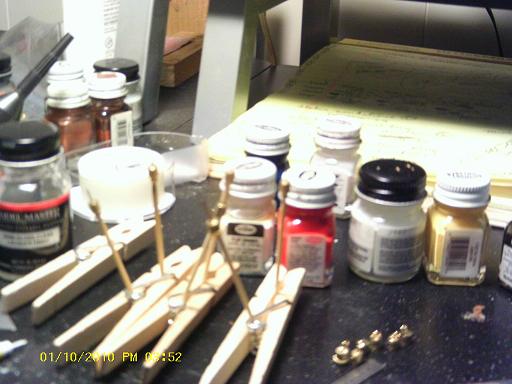
I can see that I'm going to do something about attaching the mizzen mast and the exhaust funnel to the back wall of the pilot house. this will add more stability to the rigging and detail to the stern assembly. the next thing to do is the fife posts {that's what I will call them}. there are six of them, and one larger post at the bow. this particular post had a couple of protrusions, one on the port and one on the starboard side. I'll do that one last......here I started to embellish the knobs at the top of each one. once that was done, a hole was drilled into the bottom of each one and fitted onto the end of a toothpick {I have to use up my reserve of toothpicks}. this will serve two purposes......to make it easier to stain and paint them with clear lacquer, and for the creation of a location tab, which will make it easier to cement them to the deck.
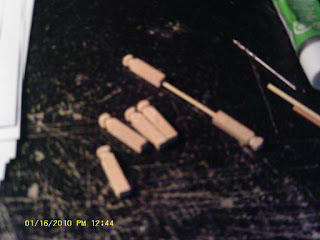


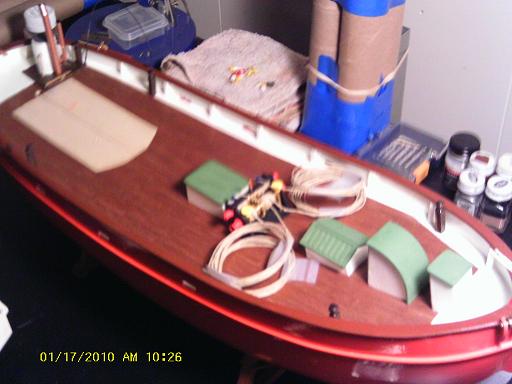
It was time to install them into the deck....one pair at a time. I used the bulwark posts as landmarks for their placement. it also helps that I took the blueprint sheet and pinned it to the wall in front of me......I told my wife I want to get a frame for it....it looks so cool up there!
I think that future pictures here will show the extra fittings that I cemented onto the top rails. now was the time for the bow post. sorry that these pictures are a little blurry, I'm still getting used to the camera. the next log, I might try using my wife's camera, to show just how touchy this new camera is.....it's taking quite a bit of time to get used to. the bow post was done in the same manner as the other posts. in order to make both of the brackets the same height, I drilled holes all the way through the post. the brackets are made of bent brass. I also cemented the two last part to the front of the winch at this time.


In previous pictures that showed the main mast, note that the stain did not take too well where the turnbuckles are located. this is a byproduct of the glue that was used. I ended up correcting the problem by painting the section white. I may add a couple of yellow stripes to this, another feature of the identification idea.......an idea still up in the air. then came some rigging......{I can't wait to get here}. I started with the mizzen mast, and will finish it when it is secured to the pilot house.......a lot is riding on this pinnacle point of the build.......then I can go nutz!

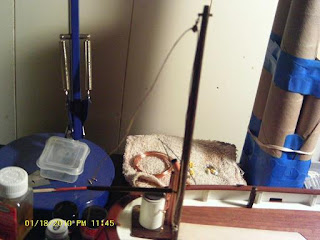

The standing rigging is already in place on the deck. polished hemp thread has been colored black, using the method I described earlier. it worked out well, there is hardly any shine to it, which is what I was shooting for. there has been some discussion concerning the anchor rope. I had done some of the thicker gauge rope for it, but the views of some indicate that chain should be used. this chain should be of a blackened variety, and the method for achieving this sounds kinda detrimental to one's health, as well as time consuming. I have heard of a few other methods, but for now, it's food for thought. all that I do here, are but mere templates of what i can do in future builds, in an effort to expand my knowledge of this vernacular. I embrace it!
Enjoy.................and AHOY!